Picture-Perfect Makeup for Photography
Today’s post is brought to you by Crest 3D White. As always, all stated opinions are my honest thoughts. I only work with companies that I truly love.

As a blogger and an actress, I’m in front of the camera quite a bit. I’ve had the privilege of working on-set with amazingly talented professional makeup artists, and I am always learning new tips and tricks from them. I pay attention to each product they use and ask questions about technique, product preference, and insider secrets. While I know that I won’t be able to fully absorb their mastery or creativity with makeup, I’ve learned so many useful beauty tips on set – especially when it comes to makeup for photography.
Makeup for everyday life and makeup for photography can sometimes be two very different things. I’ve walked on set before seriously doubting my makeup artist, but I’m always shocked to see the playback of footage or the finished photos. Without fail, all of my initial doubts are unwarranted. Makeup that looks good for day-to-day activities doesn’t always look good in photos. Photography, lighting, and photo editing can wash out your complexion and highlight flaws, so it’s important to slightly adjust your routine when you know that you’ll be in front of the camera. Whether you’re prepping for holiday photos or a big birthday party, I’m sharing the top makeup tips for photography I’ve learned from makeup artists to help you look flawless in your photos!
Preparation is key.

The first and most important lesson that I’ve learned from professional makeup artists is to prepare the skin for makeup. Makeup can cover discoloration, but it can’t completely camouflage bad skin. While skincare should ideally be a part of your everyday routine, try to take extra good care of your skin before events where you’ll be taking photos. Taking a few minutes each day to properly cleanse and moisturize your skin can make a huge difference in the appearance of fine lines and wrinkles and your skin’s overall texture.
You’ll also want your teeth to be pearly-white for your photos, so don’t forget to amp up your teeth whitening routine for one to weeks before your shoot. Since I’m in front of the camera quite a bit, I like to use Crest 3D White Luxe Professional Effects Whitestrips once or twice a week to keep my smile bright and white. They’re quick, easy to use, and consistently produce great results. If I skip this step, I notice a huge difference in the appearance of my teeth on camera.

Create a skin-like finish.

High-definition cameras pick up every little detail and amplifies imperfections, so it’s important to take extra care in applying your makeup. While you’ll probably want to camouflage blemishes and even your skin tone, try to focus on creating a skin-like finish instead of an opaque mask of color.

Combine products to create your perfect color and finish. It can be difficult to find a perfect color match in foundation and concealer. Instead of trying to make one shade work, mix several shades of product to create your ideal color. In addition to adjusting the color, you can also mix in products to change the texture or finish of the product. A drop of oil or moisturizer will reduce the level of coverage of any foundation or concealer, so it will blend more easily into your skin. I’ve seen makeup artists combine three or four different products to create the perfect foundation or concealer, so break out your inner artist and get mixing.
Sculpt your face with color. After replicating your skin color with your foundation, consider creating a second color to sculpt and contour your face. Choose a thin, slightly sheer foundation that’s one to two shades deeper than your natural skintone and apply the product around the outer edges of your face, underneath your cheekbones, and any area that you’d like to create a natural shadow. The key to natural contouring is using the smallest amount of product possible and blend away any harsh lines.
Choose the right products for your set. In addition to choosing the right colors, it’s important to use products with the right ingredients for the atmosphere of your photos. If you’re attending a dimly-party where people will be taking flash photography, stay away from products with SPF to avoid looking like a ghost in photos. If you’ll be spending the day outdoors at a summer wedding, use a mattifying primer and choose products that are waterproof or sweat-resistant.
Apply thin layers of product. When you’re hoping to create a natural finish, you’ll want to use the smallest almost of makeup possible. Apply thin layers of each product and only add extra layers to areas that need additional coverage. You don’t want your face to look like a plastic mannequin, so add a little bit of product at a time.
Blend, blend, blend. This tip is the one of the most important things that I’ve ever learned from makeup artists. After adding each layer of makeup, blend until it’s completely absorbed into your skin. In addition to creating a flawless finish, blending will reduce harsh edges, combine the different colors of your makeup, and hide all of your mistakes. When in doubt, blend some more.
Only powder when necessary. Setting powders work wonders for reducing oil and enhancing the longevity of your makeup, but too much powder can make your skin look dry on camera. After finishing your foundation and concealer, apply a thin layer of powder only to the areas that are too shiny. You can always touch up and add a bit more powder later on if your face looks too oily in photos, but you won’t be able to remove powder once it’s applied.
Add color and dimension to your face.
 Bright lighting and photo editing can wash out your complexion, so it’s important to enhance your natural features with color. Here a few tips that I’ve learned from makeup artists about creating a healthy complexion for photos:
 Apply sheer layers of color. As I’ve already mentioned several times, it’s extremely important to apply a small amount of makeup at a time. A few sheer layers of colorful blush can create a healthy glow, but a thick layer of blush will make you look like a clown in seconds. Be patient and apply a little bit of product at a time.
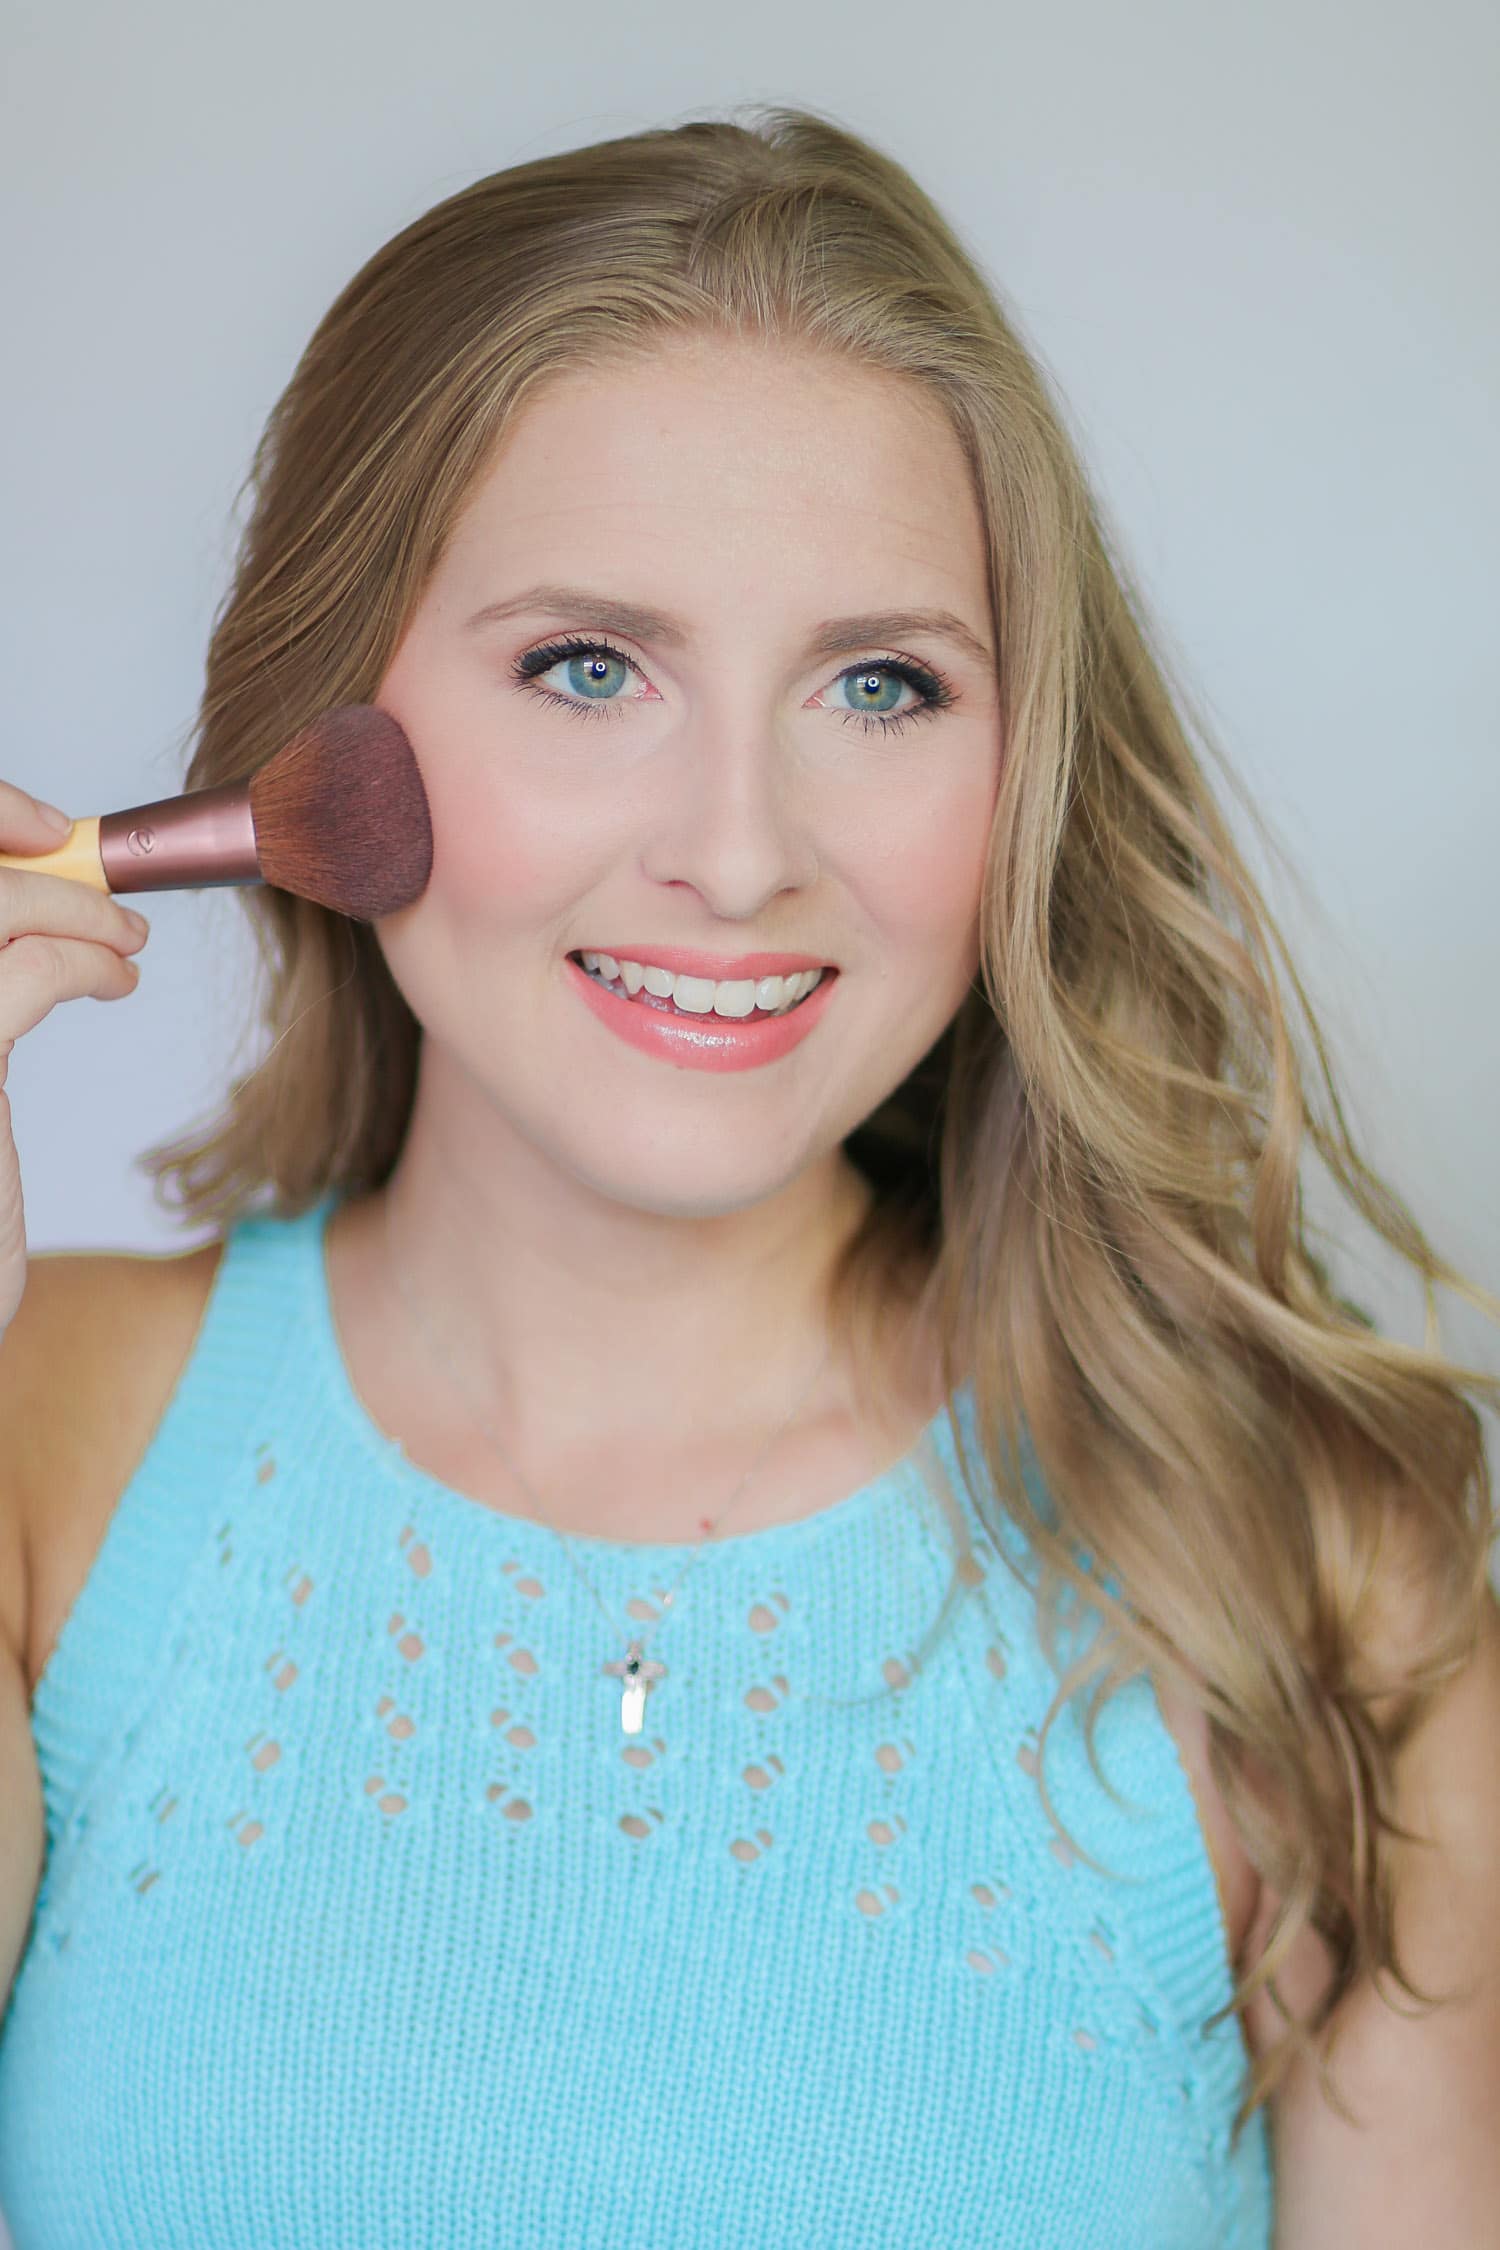
Contour your eyes with complementary colors. If you want your eyes to pop on camera, choose a color palette that complements your eye’s natural color. I have blue-green eyes, so makeup artists always use warm-toned brown, orange, and peach eyeshadows to accent my eyes. Take a peek at the color wheel and choose colors that are the opposite shade of your eye color; however, don’t feel pressured to bright colors. For example, orange is the opposite color of blue, but I don’t apply a thick coat of neon-orange eyeshadows to my eye. Instead, I look for neutral brown shades with an orange undertone.

Don’t forget your eyebrows. For years, I resisted makeup artist’s advice to darken my eyebrows. I thought it looked unnatural in person, but what really looked unnatural was the absence of my eyebrows in photos. To create a naturally full eyebrow, choose an eyebrow pencil or powder that’s one shade lighter than your natural eyebrow color and fill in any holes or gaps in your hair. Don’t forget to blend the color into your skin and eyebrows with a brush to maintain a natural appearance.

Choose a lipstick slightly darker or more colorful than the natural tone of your lips. Bright lights wash out your complexion’s natural color, so it’s important to add vibrance to your lips with the right lip color. If you want a natural look, choose a lip color that’s at least one shade darker or more vibrant than your lips. If you’re going for a fun look, bright colors look amazing on camera.
Accent the center of your lips. If you’d like to create the illusion of full and pouty lips, apply a lighter shade of lipstick or lip gloss to the center of your lips. Blend with your finger or a brush so that both lip colors are seamlessly integrated.
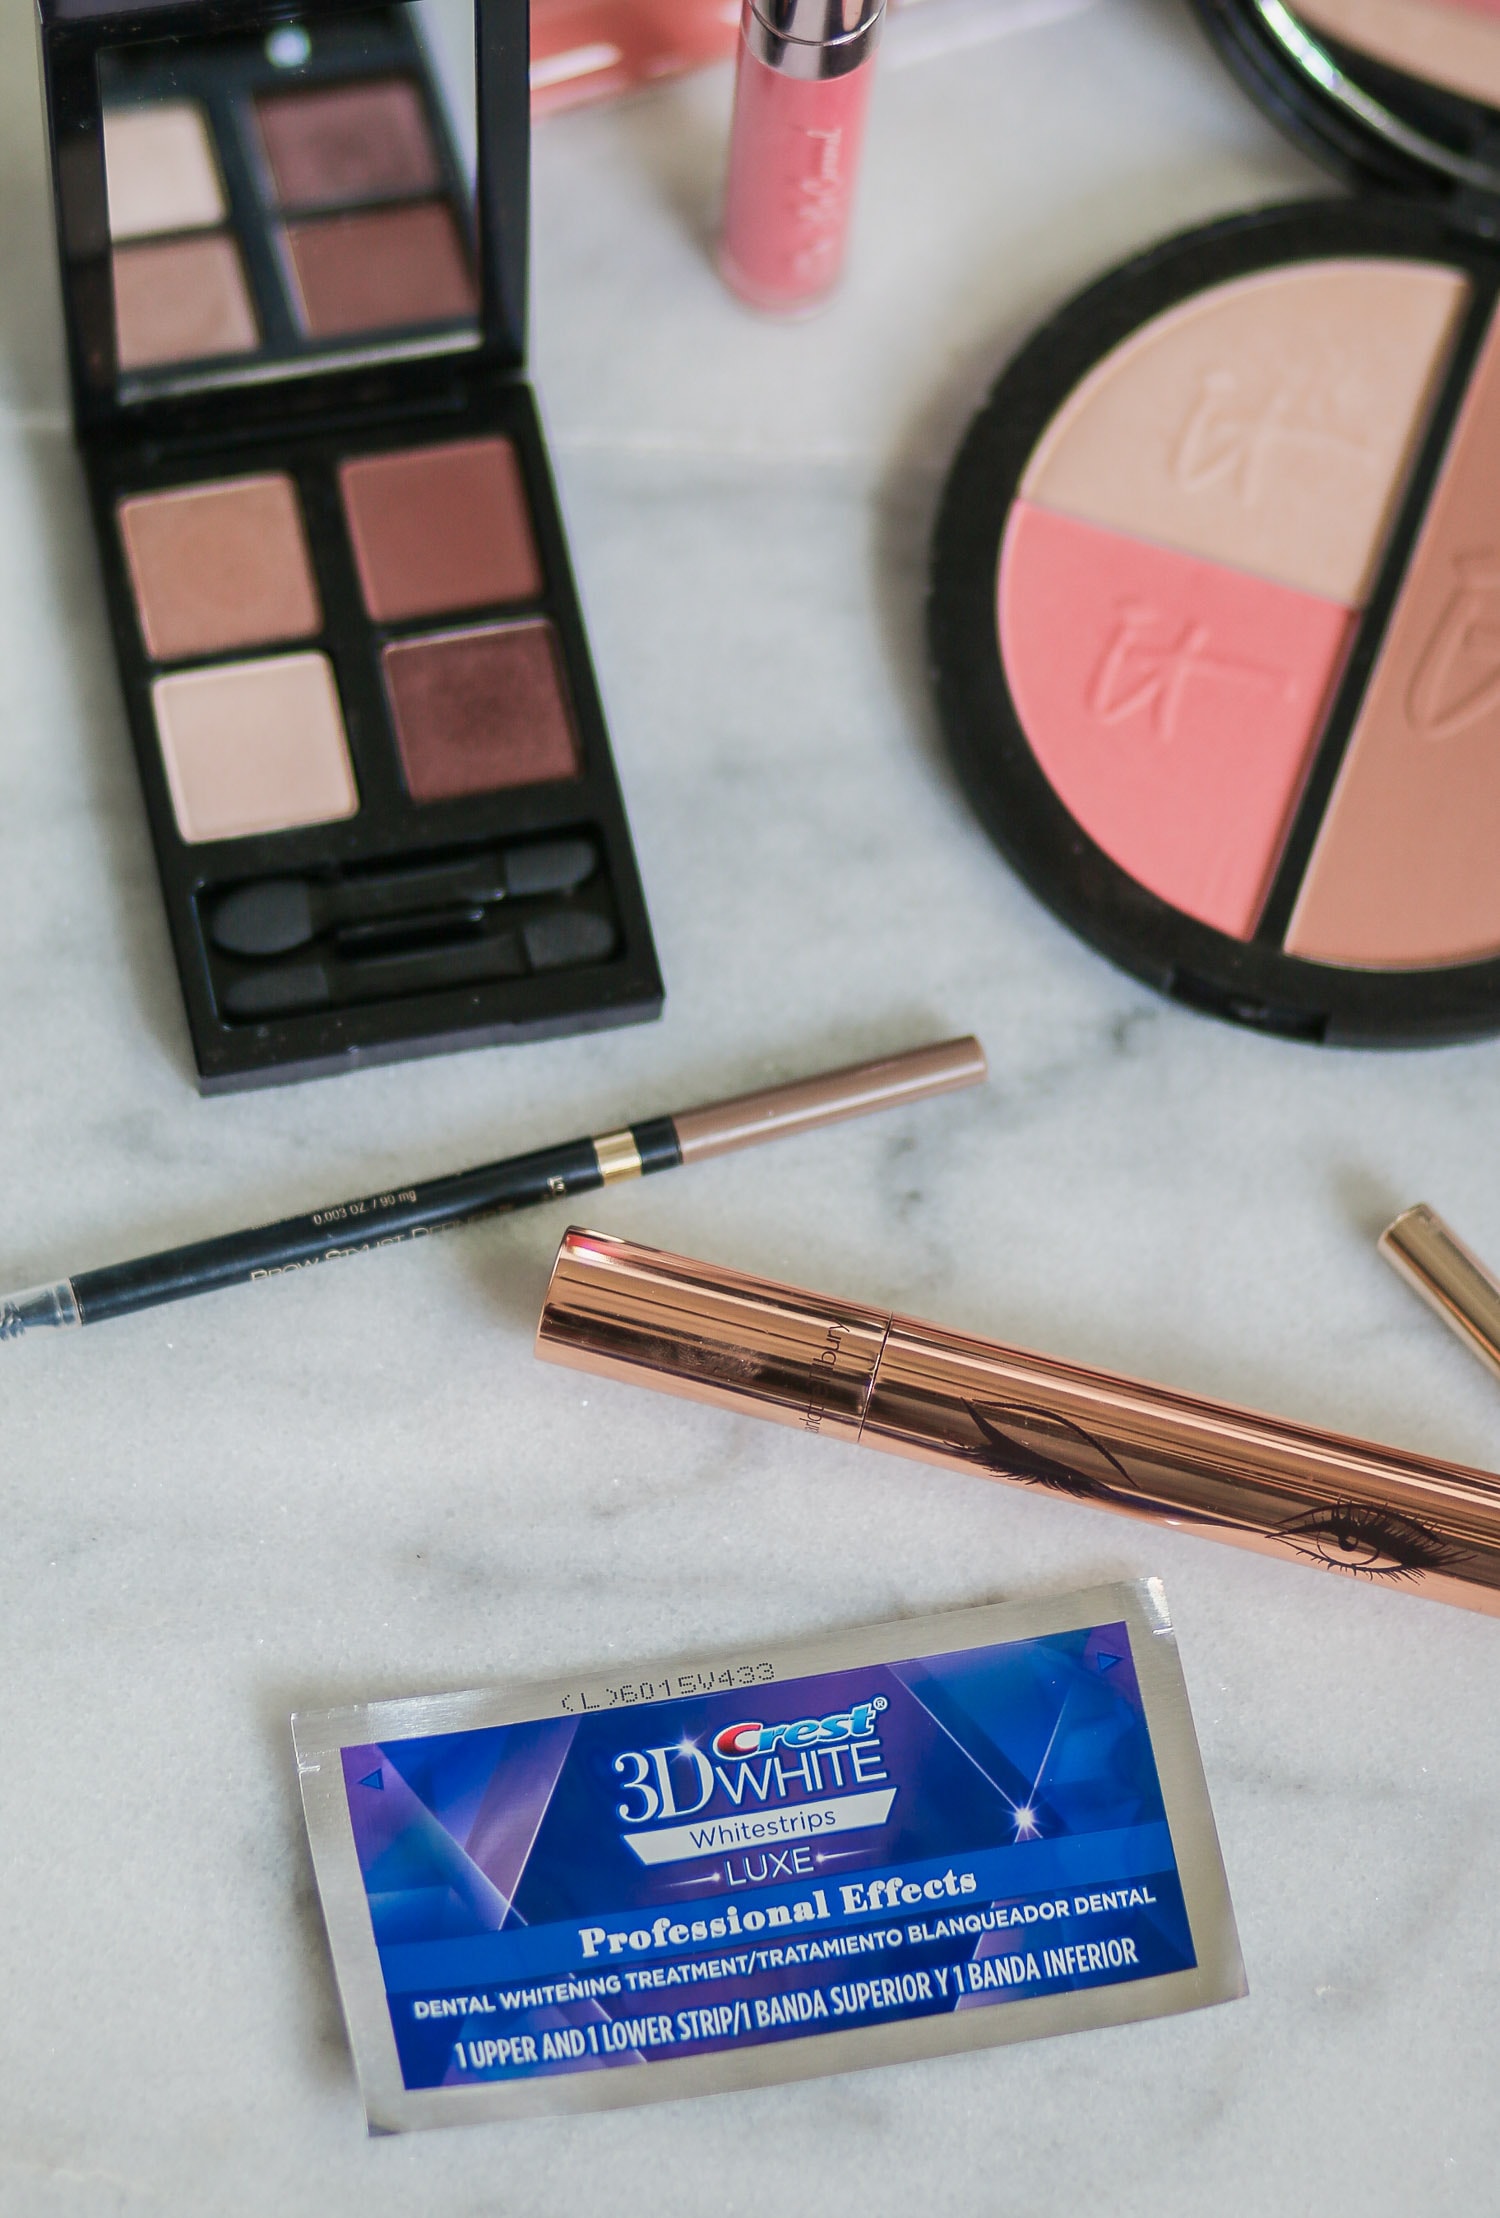
Make sure your lip color doesn’t make your teeth look yellow. Some colors look amazing on your lips, but they bring out the worst qualities of your teeth. Before you take photos, check to make sure your lip color isn’t making your teeth appear more yellow than they actually are when you smile. As a rule of thumb, blue-toned colors tend to make your teeth look whiter, but your perfect color will vary depending on the color of your skin and teeth. If the lip color you’re hoping to wear for your photos is bringing out the yellow in your teeth, consider doing an extra round of Crest 3D White Luxe Professional Effects Whitestrips to brighten your smile.
Have fun and be yourself.
 While having flawless makeup is nice, the most important tips for looking great in photos is to have fun and be yourself. Take a few deep breaths and relax to ease your facial muscles and look at the camera like it’s your best friend. Your photographer wants you to look great, so they’ll give you adjustments if a particular pose is unflattering. Joke around, laugh, and have a blast. Don’t forget to pin this post on Pinterest for future reference!
What’s your favorite makeup tip for photography?