How I Curl My Hair
This post is sponsored by Suave Professionals.
I still remember the first time I tried to curl my hair. After waiting for the curling iron to warm up, I haphazardly wrapped a thin lock of hair around the iron’s hot surface and let it sit for about 30 seconds. For a moment, I thought that I was a doing a good job, but then I noticed the smell of burning hair. By some miracle, my hair didn’t completely burn off, but let’s just say it was extra crispy. Thankfully my hair styling skills have slightly improved since my first curling catastrophe. While I’m still figuring out the art of creating the perfect braid and the classy updo, I have pretty much mastered the process of curling my hair. After carefully making my hair stylist explain the process to me at least a dozen times and hundreds of curling practice sessions, I can now curl my hair without even thinking about the process. Curling your hair isn’t hard if you’re using the correct technique and products, and I’ve found two products from Suave Professionals that will completely change your hair styling game! Keep reading to see how I achieve long-lasting, frizz-free curls in three easy steps!
Step 1: Smooth & Dry Your Hair

Before you begin the curling process, it’s important to properly prep your locks. After all, it won’t matter how beautiful your curls are if they’re covered in frizzy fly-away hair! After I get out of the shower, I rub a nickel-sized dollop of the Suave Professionals® Luxe Style Infusion Smoothing Light Weight Weather Proof Cream through my damp hair. The creamy consistency smooths my split-ends and frizz without weighing my hair down, and the affordable price can’t be beat. Once the product is completely absorbed, I’ll quickly blow dry my hair using a paddle brush. Once my hair is 97% dry, I’ll switch the heat setting of my blowdryer to cold to add an extra bit of shine to my hair.
Step 2: Create The Perfect Curl

Once your hair is completely dry, it’s time to start curling! This process may seem confusing at first, but it’s incredibly easy. Instead of starting the curl at the bottom of your hair, this process starts the curl at the top of your head and slowly moves down to the bottom. This process gives longer-lasting curls because the thick hair at the top of your head needs more time to curl, while the thinner ends only need a second or two! Practice makes perfect with this technique, and once you get the hang of it each curl will only take about 8-10 seconds!
- 1. Take a 1-2 inch section of hair and place the clamp of the curling iron away from your face.
- 2. Roll the curling iron away from your face for one full rotation, but leave 75% of your hair unwrapped. Hold the curling iron in place for 1-3 seconds, depending on the thickness of your hair.
- 3. Partially release the clamp of the curling iron and move it halfway down the shaft of your hair.
- 4. Roll the curling iron back up to the base of your hair, so that now 50% of your hair is wrapped around the iron. Hold in place for 1-3 seconds. Repeat the process of sliding down and rolling back up once more, so that the entire piece of hair is wrapped around the curling iron.
- 5. Release the clamp and gently unwrap the curl.
- 6. Repeat this process on the remainder of your hair and allow the curls to set for a few minutes.
Once your entire hair is curled, allow the curls to set for several minutes to lock in the spiral shape.
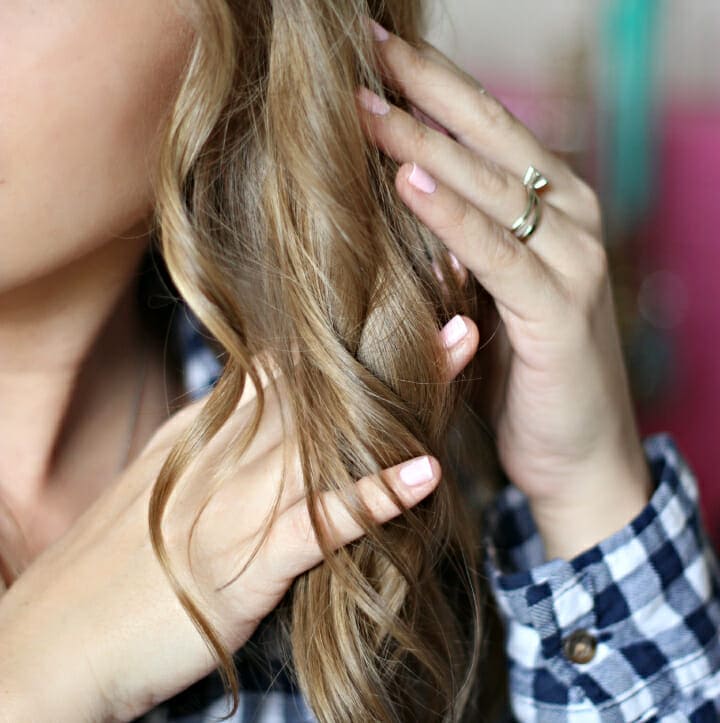
Now it’s time to create a more relaxed style. Simply run your fingers through your hair to separate each curl and add an extra bit of volume.
Step 3: Lock Your Style into Place
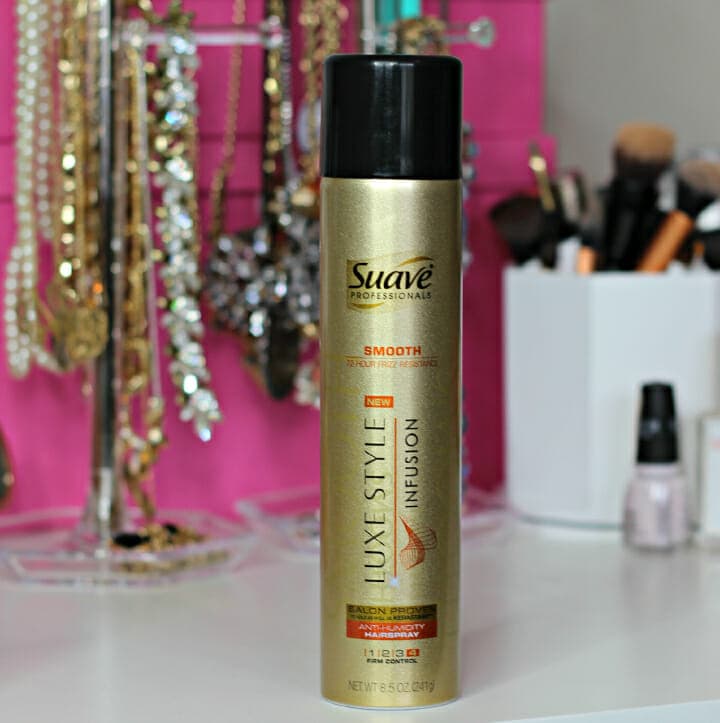
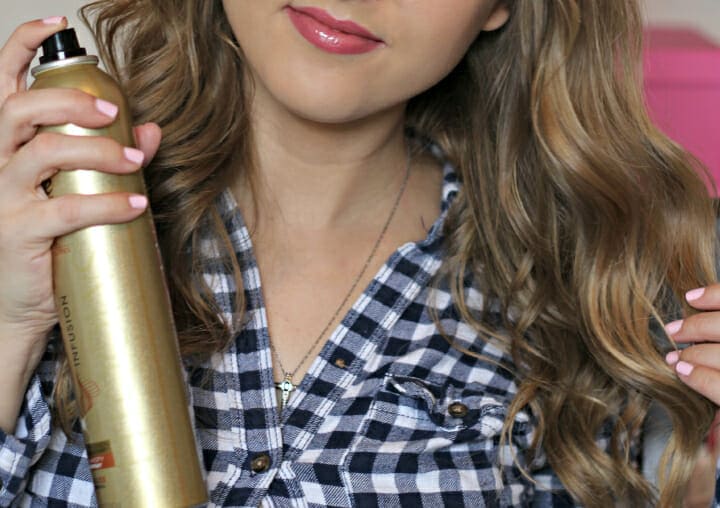
Once your curls are perfectly styled, spray a small amount of the Suave Professionals® Luxe Style Infusion Smoothing Anti-Humidity Hairspray onto your hair. This smoothing hairspray helps your hair resist frizz for up to 72 hours, and the firm hold will keep your hair curled for the entire day. This hairspray is an absolute lifesaver for the warm and humid summer months, but it helps me lock in my style year-round.

I love this easy three-step process because it allows me to create the most beautiful curls in only 15-20 minutes, and my hair style lasts all day long without becoming a frizzy mess! Be sure to pick up the two Suave Professionals styling products featured in this post the next time you’re at the store. They’re incredibly affordable, and I guaranteed you’ll be impressed with the quality.
![]()
NEW Suave Professionals® Luxe Style Infusion is a luxurious line of salon-inspired styling products that allow women to “#Style It Yourself”, or “#SIY,” and get the salon looks they love at home every day. Suave Professionals® makes it easy to “Style It Yourself”, or “SIY”, with on-trend style products that work as well as a salon brand, and simple, three step-style instructions that are even on the back of packaging to help women achieve salon-quality styles quickly and easily at home. You can do it! Show us how you #StyleItYourself with @Suavebeauty on Facebook, Pinterest, Twitter and Instagram.