Easy Braided Headband Hair Tutorial
Thanks to Lunchbox for sponsoring today’s post. As always, all opinions are my honest thoughts. I only work with companies that I truly love!
Just as I was getting used to the perfect spring weather, Florida decided that it was time for summer to arrive. I’m elated about the blue skies and constant sunshine, but I could do without the extra heat, humidity, and bugs. Yesterday evening I was outside taking photos for no more than thirty minutes, and I was shocked when I caught a glimpse of my appearance as I walked into a restaurant for dinner. My legs were freckled with nearly a dozen bug bites, and my hair had expanded to at least twice its normal size. The Florida humidity is back, and it’s showing me who’s boss.
I have quite a few outdoor activities coming over the next few weeks, so I knew I needed to come up with a hairstyle that would save me from the season’s heat and humidity. After a little bit of experimentation, I came up with my new, go-to summer hairstyle: the double-braided headband. The name may sound fancy, but trust me, it’s incredibly easy to re-create! In addition to being a cute summer look, the braids keep your hair out of your face on sunny days. In today’s post, I’m sharing an easy braided headband hair tutorial in four easy steps, and I’ll also spilling the beans about a fabulous new hair product that’s perfect for summer. Spoiler alert: it , and it’s less than $5 at !
Step 1: Pin Back Top The Section of Your Hair

The first step is to brush the top layer of your hair straight back towards the crown of your head. Once the section of hair is completely smoothed, loosely secure it at the crown of your head with a hair clip.
Step 2: Create A Braid on Each Side
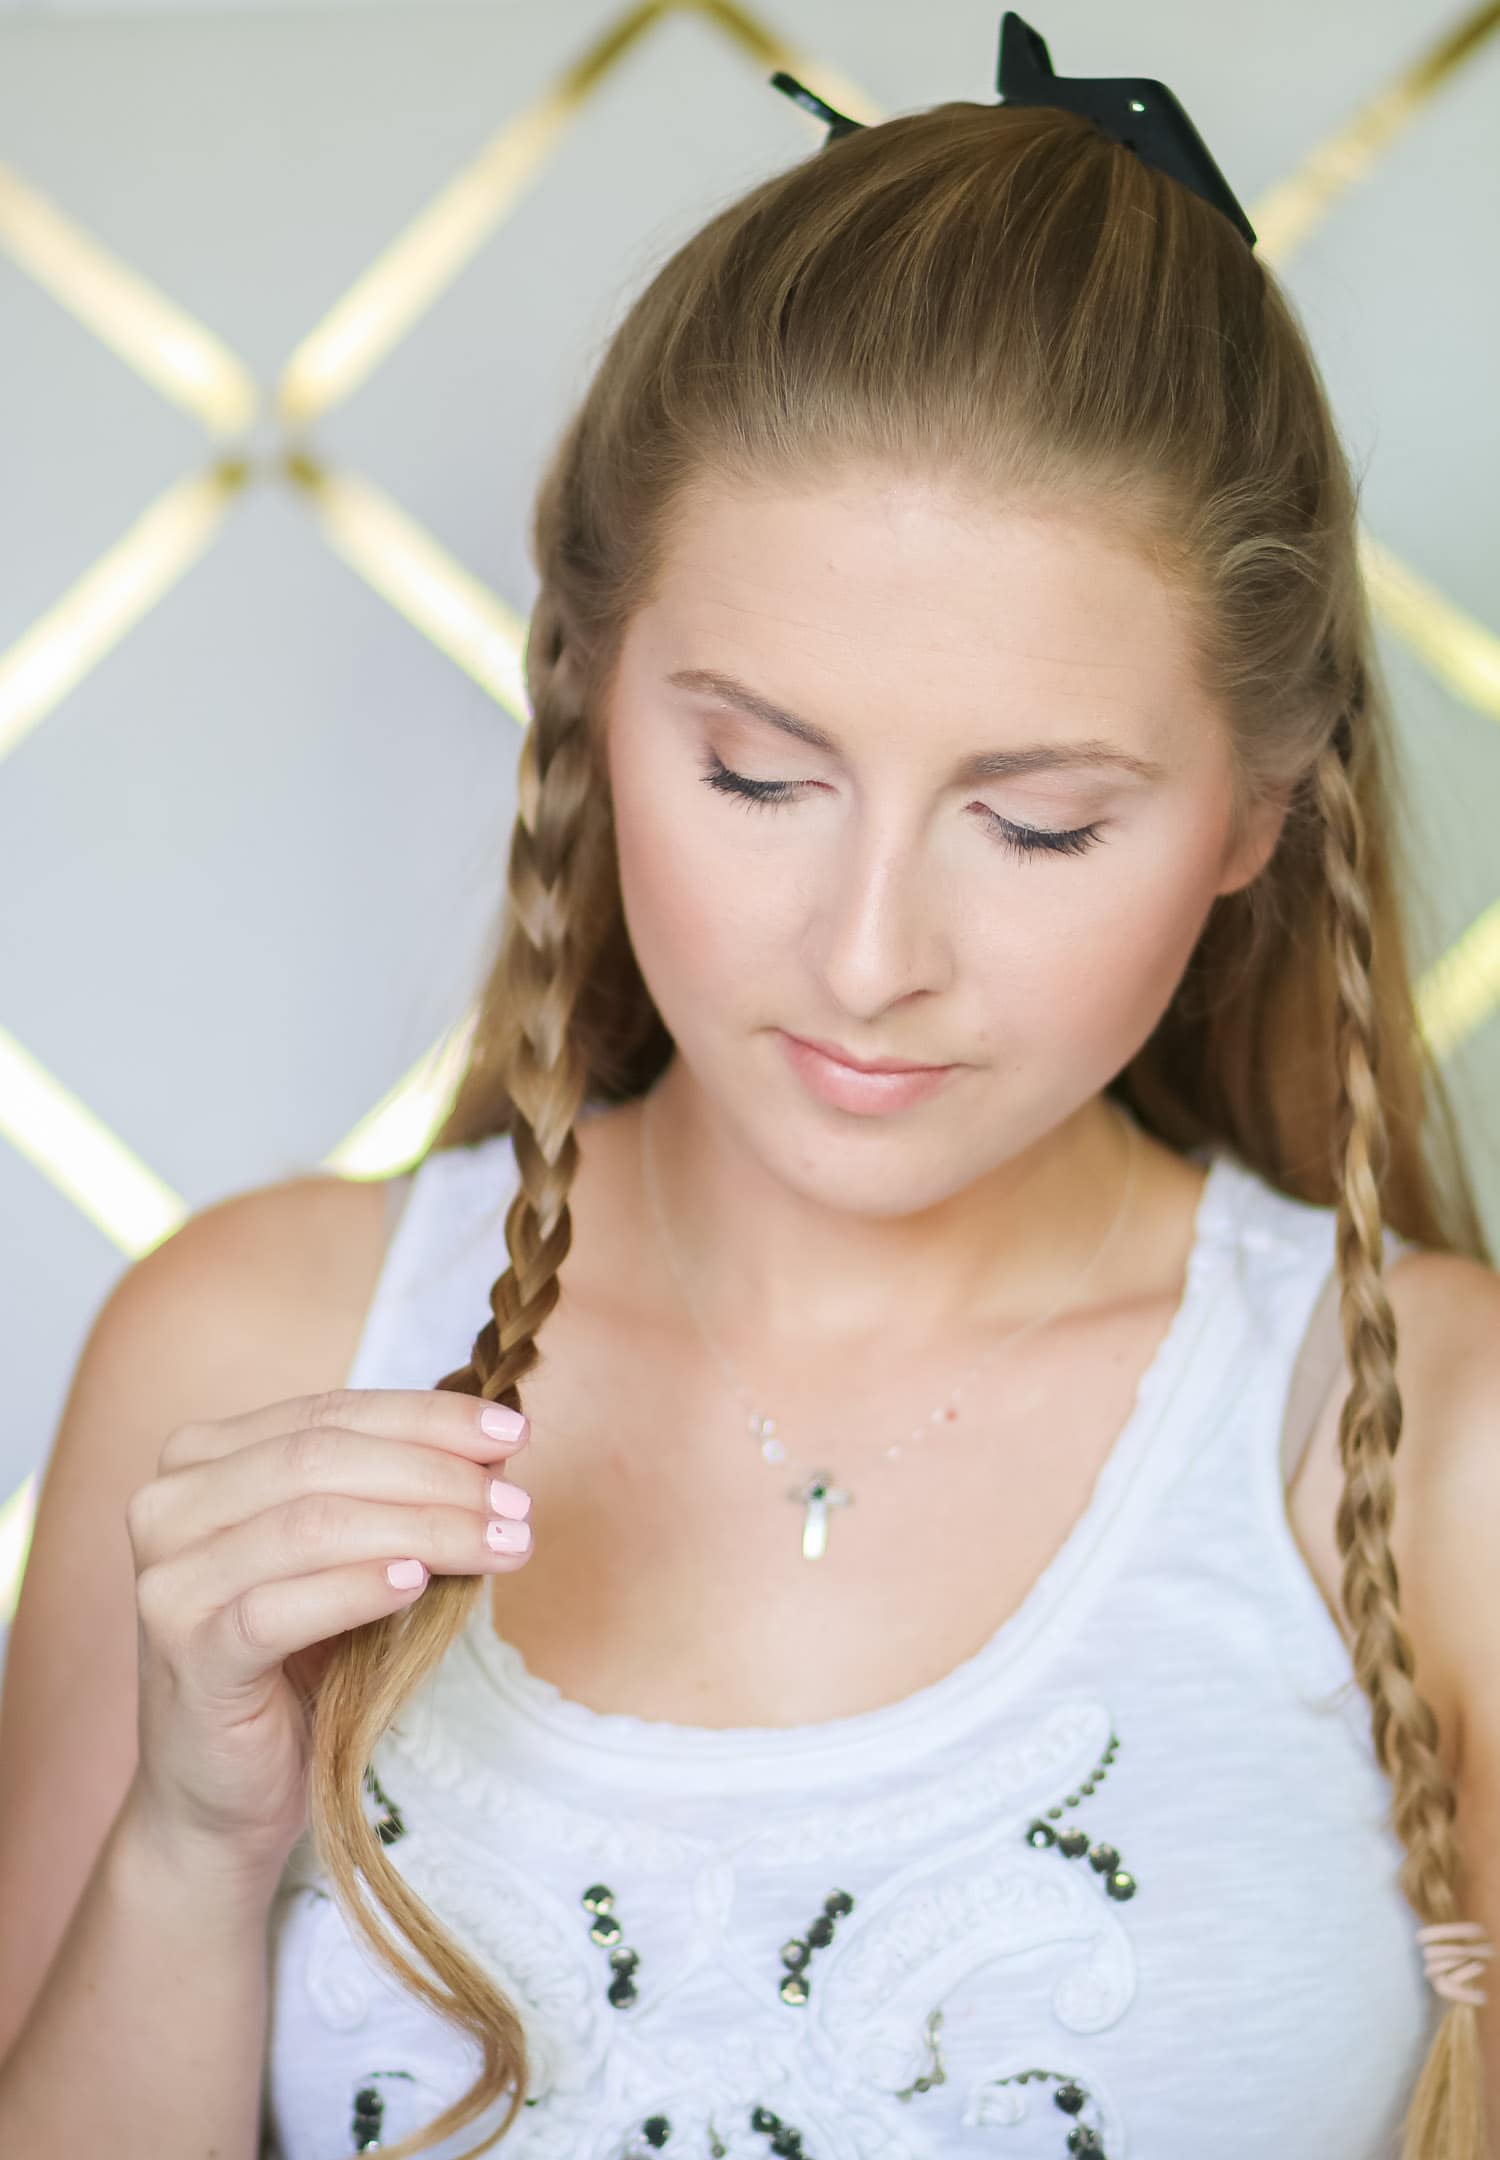
Now it’s time to start braiding! Create a small braid (starting at the top of your ear) on each side and secure with a hair elastic. Clear hair elastics are ideal, but as you can see in my photos, I didn’t have any available for this post. You can easily use regular hair elastics because they can be removed in the next step. If your hair is short or lacking volume, no worries. Simply use a small clip-in extension weft next the area that you’ll be braiding.
Step 3: Secure Braids with Bobby Pins

Next, take one of your braids and secure it to the opposite side of your head with a bobby pin or two. Repeat this process with the other braid, laying it beside the first braid. If you used a thick hair elastic in step two, it can be removed before pinning the braid in place. Once both braids are secured, remove the clip from step one.
Step 4: Make The Style Your Own
The best part of this hairstyle is its versatility. For today’s hairstyle, I simply curled my loose hair to create a soft and feminine look; however, the options are endless. You could secure your loose hair into a ponytail, or you could create a beautiful braid with your remaining hair. I also love the idea of winding your loose hair into a low bun.
No matter how you choose to style your loose hair, this hairstyle is guaranteed to help you stay cute and comfortable in the summer heat. I had to run all over town today for various errands, and this hairstyle helped my hair style in place and away from my face all day long. I think it would be the perfect hairstyle for beach days, music festivals, or honestly an outdoor activity!Ok, remember at the beginning of the post I said I found a summer beauty must-have that smelled like coconuts? I was referring to the new. Coconut oil is my favorite natural beauty product, so I was immediately drawn to the line. I picked up the shampoo and conditioner last week, and I can already tell that these products will be in my shower all summer long! In addition to the delicious tropical scent, the Coconut Oil Infusion line is infused with pure coconut oil to visibly repair damaged hair without weighing it down. It’s also salon-proven to repair damage to your hair as well as Ojon® Damage Reverse®, so you can get salon-quality results without the salon price tag.
If you haven’t tried Suave recently, you’ll definitely want to check out their new line. In addition to the Coconut Oil Infusion line, they’ve also released four other collections. I’m dying to try the Biotin Infusion, and I already own and love the Keratin Infusion, Moroccan Infusion, and Sea Mineral Infusion products. I picked up the Coconut Oil Infusion shampoo and conditioner at for only $2.50 each, so you should definitely pick up some of the new products on your next shopping trip!

If you’re looking for more easy hair tutorials, check out this amazing video my friends Kristin from BonBon Rose Girls and Kristie from Blushing Basics created with Suave. Whether you’re looking to perfect your summer beach waves or learn a fancy new up-do, you’re going to love the easy, step-by-step tutorials in this video!